
Why Implant Training Matters Now
The truth is, implant dentistry has moved from being an elective skill to a professional necessity. 🦷 Patients aren’t just asking for implants—they’re expecting you to provide them. Every year, according to AAID, over 3 million implants are placed in the U.S. alone, and that number keeps rising.
Rising Patient Demand and Competition
Dental implants have become the modern standard for tooth replacement. If you’re not offering them, chances are your competitors already are. Patients value “all-in-one” clinics—places where their extraction, grafting, and implant placement can all happen under one roof. That’s why adding implant training isn’t just about learning a skill; it’s about retaining patients and future-proofing your practice.
Expanding Clinical Confidence and Revenue
Beyond the numbers, implantology sharpens your diagnostic and restorative edge. Whether it’s identifying bone density from a CBCT scan or restoring occlusion post-placement, each implant course adds layers of practical skill that influence every corner of your practice. Think of it as learning the “language” of modern dentistry—fluency brings confidence, referrals, and higher-value cases.
Define Your Starting Point
Before diving into any implant program, pause. You wouldn’t start a full-arch case without a CT plan—so don’t sign up for a course without understanding your baseline.
Assess Your Clinical Baseline
Ask yourself:
- Can you raise a flap comfortably?
- Are suturing and socket preservation part of your daily routine?
If not, choose a beginner dental implant course that includes surgical foundations. Courses like these typically include model work, suturing drills, and live-patient observation.
Comfort With Radiology and Case Selection
Many dentists underestimate the value of CBCT interpretation. A good course should teach not just reading bone levels, but understanding landmarks—sinus floor, mandibular canal, ridge width, and angulation. A strong foundation in digital planning and case grading saves you from early complications.
Clarify Your Time and Goals
How much time can you dedicate monthly? What’s your return-on-investment window? These decisions shape whether you choose a two-day intensive or a six-month continuum program with mentorship and live surgeries.
Types of Implant Courses (Know What You’re Buying)
Dental implant training programs come in all shapes and lengths. Let’s simplify the landscape so you don’t waste money on the wrong one.
Weekend Fundamentals vs. Multi-Module Continuums
Weekend courses provide quick exposure—great for theory, poor for muscle memory. A multi-module continuum, on the other hand, lets you progress from theory to live placements under supervision. Programs by associations like ICOI or AAID typically follow this model.
Live-Patient Programs vs. Simulation-Only
A real game-changer? Live-patient experience. Pig jaws and models are fine for hand skills, but placing implants in supervised live settings gives real surgical insight. Always check if the program includes patient cases, not just observation.
Manufacturer-Affiliated vs. Brand-Agnostic
Some courses push a single implant brand. That’s fine for specialization—but if you’re a beginner, go for brand-neutral programs that teach universal principles: osseointegration, connection types, and torque mechanics.
The Ultimate Course Selection Checklist
When evaluating a program, think like you’re planning a surgery—systematic and thorough.
| Criteria | What to Look For | Why It Matters |
|---|---|---|
| Accreditation & CE Hours | ADA or AAID certified | Ensures recognition for licensure renewals |
| Faculty Credentials | Experienced implantologists with case history | Real mentorship, not sales reps |
| Curriculum Depth | Diagnostics → Surgery → Prosthetics → Complications | Comprehensive mastery |
| Hands-On Volume | Pig jaws, models, live-patient | Builds true clinical readiness |
| Post-Course Support | Mentorship, forums, webinars | Keeps you accountable |
| Transparency | Tuition + travel + implant kits listed | Avoid surprise expenses |
Curriculum Essentials (Don’t Compromise Here)
A solid implant curriculum is like a treatment plan—it’s not about volume, it’s about sequence.
Diagnostics and Treatment Planning
It should start with prosthetically driven planning, radiographic evaluation, and 3D visualization. Look for segments on digital workflows and bone mapping using CBCT.
Biology and Biomaterials
A deep dive into osseointegration is critical—how bone responds to implant surfaces, healing phases, and torque thresholds. If your instructor doesn’t talk about primary stability and insertion torque, it’s a red flag.
Surgical Fundamentals
Expect to learn flap design, crestal vs. lateral approach, irrigation, and drill-sequence accuracy. Watch for real-world error management discussions—because learning to recover gracefully is half the battle.
Restorative Protocols and Complications
Even if you’re not placing, you’ll restore. Courses should include impression-taking, soft tissue management, emergence profile, and occlusal adjustments. And yes—complication handling should never be “optional.”
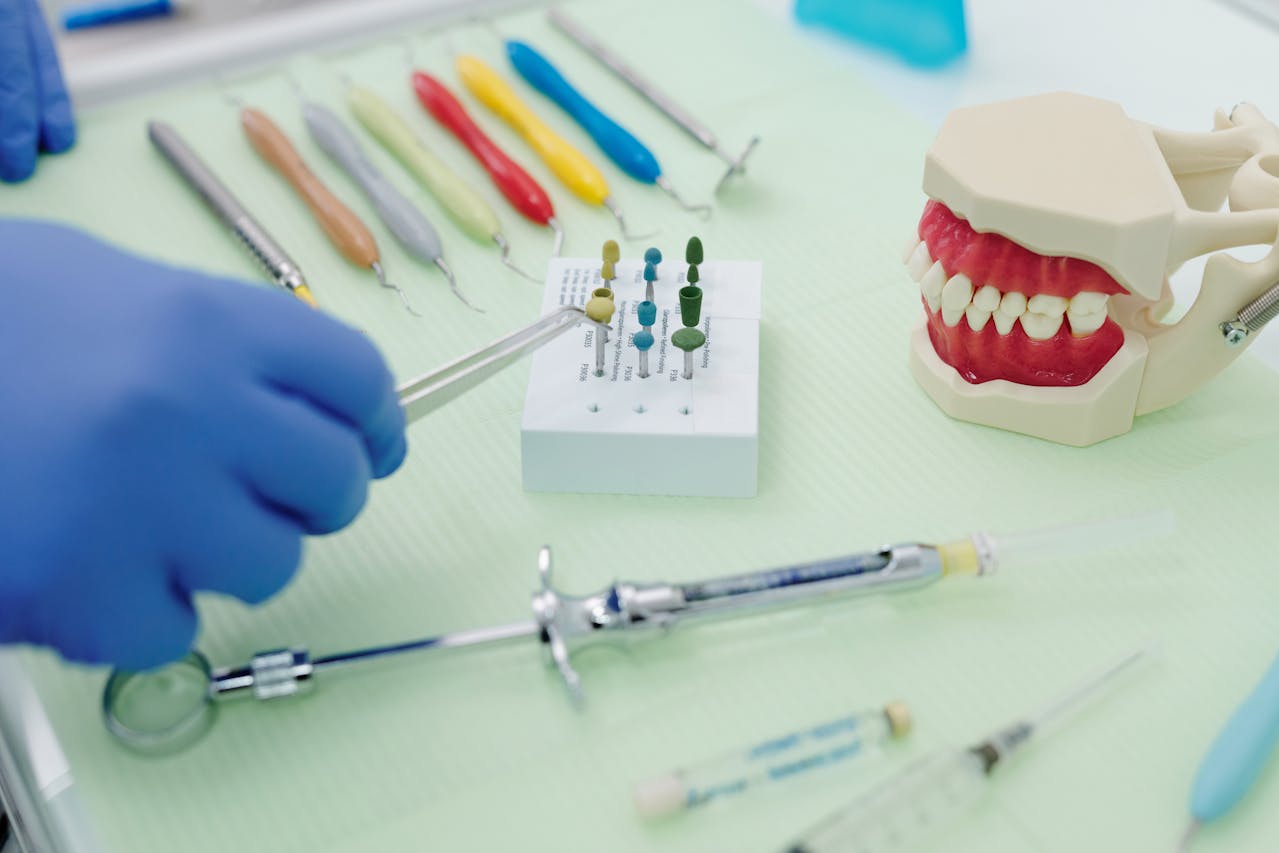
What Hands-On Should Actually Look Like
Hands-on means more than a few hours on a jaw model.
Tiered Learning
Start on models → move to pig jaws or cadavers → transition to supervised live cases. Each stage reinforces surgical precision, depth perception, and tactile feedback.
Instructor Ratio
An ideal student-to-instructor ratio is 1:3 or 1:4. Anything higher, and you’re just watching—not learning.
Structured Feedback
Ask how your performance will be evaluated. Do they record or photograph your cases for critique? Real mentorship happens through feedback, not certificates.
Live-Patient Training: Safety, Ethics, and Value
Live-patient work transforms theory into confidence—but only under tight safety and ethics.
- Confirm case vetting standards: ASA I–II patients, proper medical histories.
- Verify instructor supervision per surgical station.
- Ensure emergency setups are on standby—oxygen, suction, AED.
Courses that treat live training casually risk both your career and patient safety. Choose those that treat it like a real clinic day—sterile, structured, and team-driven.
Digital Dentistry and Guided Surgery—The New Normal
Guided surgery is not cheating—it’s smart dentistry. 💡
Courses today must include digital integration—CBCT scan merging, guide fabrication, and surgical planning. Learn to use popular platforms like Blue Sky Bio or 3Shape Implant Studio, which make planning intuitive.
You’ll understand surgical guide types (tooth, bone, or mucosa-supported) and how to communicate effectively with labs and guide designers.
Implant Systems: Avoiding Brand Tunnel Vision
A mistake many new dentists make? Falling for shiny marketing.
Look for a course that compares implant systems—connection types, surface coatings, and restorative compatibility. For instance, conical connections provide better stability but may limit prosthetic interchangeability.
Your system should fit your region’s supply chain and lab ecosystem, not just your instructor’s preference.
Mentorship After the Course (Your Real Safety Net)
Your education shouldn’t end with a certificate. The best courses include post-course mentorship, allowing you to present radiographs, discuss cases, or seek feedback before your first solo surgery.
Continuous learning happens through:
- WhatsApp or Slack study groups
- Case review clubs
- Remote guided planning sessions
That follow-up is where your clinical growth really happens.
Budgeting: Fees, Travel, Instruments, and Hidden Costs
Let’s be blunt: implant training isn’t cheap—but it pays back fast.
A transparent course should disclose all-inclusive costs: tuition, travel, kits, graft materials, and surgical tools. Expect starter instrument sets to cost between $2,000–$5,000 depending on brand and region.
Red Flags to Watch For
🚫 “Place 10 implants in a weekend!” — unrealistic and dangerous.
🚫 Instructors who dodge complication discussions — avoid them.
🚫 Sales-heavy agendas — you’re there to learn, not to buy.
30-Day Prep Plan Before Your First Course
| Week | Focus | Action |
|---|---|---|
| Week 1 | Refresh basics | Review implant anatomy, torque mechanics, and case planning. |
| Week 2 | Hands-on drills | Daily suturing and flap design practice on silicone models. |
| Week 3 | Digital review | Watch guided surgery tutorials and CBCT walkthroughs. |
| Week 4 | Setup logistics | Confirm travel, instruments, and case presentation readiness. |
Implementation Roadmap: Your First Year in Implants
Start with single posterior healed sites. As confidence builds, move to immediate placement and anterior esthetics.
Maintain a case documentation system—photos, ISQ readings, healing curves—to track outcomes and show future patients.
Audit your cases quarterly: evaluate healing times, prosthetic fit, and patient feedback. It’s how you refine your workflow and build long-term trust.